
Patios
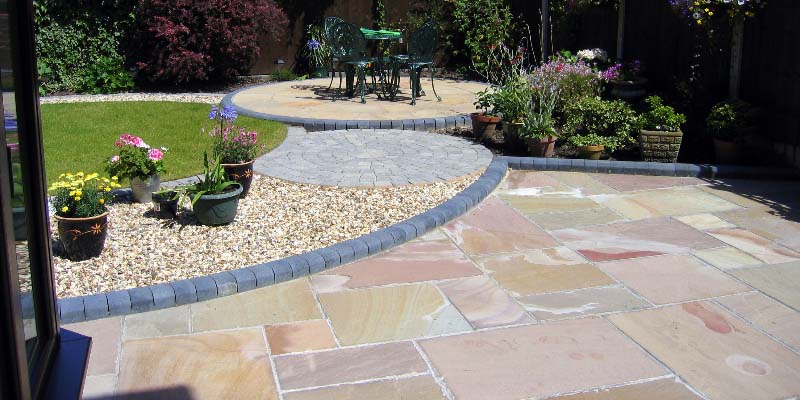
To make the most of outdoor living, every garden should have a patio - a place to relax, socialise and entertain.
Here's how Wills Landscaping will create one for you...
First we agree a plan with yourself and the type and size of paving slabs you'd like for your new patio, then we embark onto our special 5-STEP process of creating a patio that
STEP 1: The foundation
We allow a total of 150mm (6 inches) for foundation and paving slabs. If laying directly next to a wall of your house we make sure the surface of the finished patio is at least 150mm below the damp proof course. This means we'll dig out an area for your patio to a minimum depth of 300mm (12 inches) below the damp proof course. To ensure water doesn't collect in pools on the finish patio, we incorporate a 'fall' in the foundation of 1 in 60, i.e. 10mm of fall for every 600 mm of width (or length). So a 3m patio has 50mm of fall.
STEP 2: The foundation base
To create a solid foundation, we use a mix of 6 parts all-in-one ballast with 1 part cement, dampened enough so as to bind it together. The entire area is filled with the mix to a depth of 75mm, levelled out and tampped down. STEP 3: Preparing mortar Patio bed mortar is a mix of 6 parts sharp sand and one part cement. Unlike some patio contractors, we lay slabs onto a full mortar bed. This supports the whole slab properly, not just the corners.
STEP 4: Laying the slabs
String guides are set taught between pegs to indicate length, width and fall. Starting from a corner, enough mortar is used to lay one slab at a time, set at the correct level (given by the guide strings) by tapping down with a rubber mallet. Levels are constantly checked with a spirit level as each slab is laid and bedded. Once laid, the patio should be left for around 24 hours to allow the bedding mortar to harden and should not be walked on.
STEP 5: Jointing the paving
Using a mortar mix of 3 parts soft building sand to 1 part cement, joints between the slabs are pointed. And that's it! We advise clients not to walk on their brand new patio for at least a couple of days to give the mortar a chance to dry and harden.
Next... enjoy for many years to come!
"Call 07813 089535 to book your FREE no obligation consultation"
© Wills Landscaping, The Byre, Cross Farm, East Allington, Totnes, TQ9 7RW
Home | Privacy Policy | Terms and Conditions | Copyright Notice | Contact